How To Make Sea Jewellery

How to Make Sea Jewellery: A Friendly, Beginner-First Guide to DIY Sea Glass Jewellery
Have you ever come home from the beach with sandy pockets and a handful of pretty shells or frosted glass—and thought, “This should be a necklace”? You’re our kind of maker. At Artisell, we love turning seaside finds into keepsakes. This guide walks you through how to make sea jewellery step by step—covering wire-wrapped sea glass pendants, drilled shell earrings, resin “sand and micro-shell” charms, and simple beachy bracelets and anklets. It’s written for beginners, with a few intermediate flourishes when you’re ready to level up.
Before we make anything shiny, a quick invitation. If you catch the bug (you will), open a free maker account and show off your ocean-inspired pieces on Artisell. Our community is friendly, supportive, and just as obsessed with sea glass as you are:
Join Artisell

What Counts as “Sea Jewellery”?
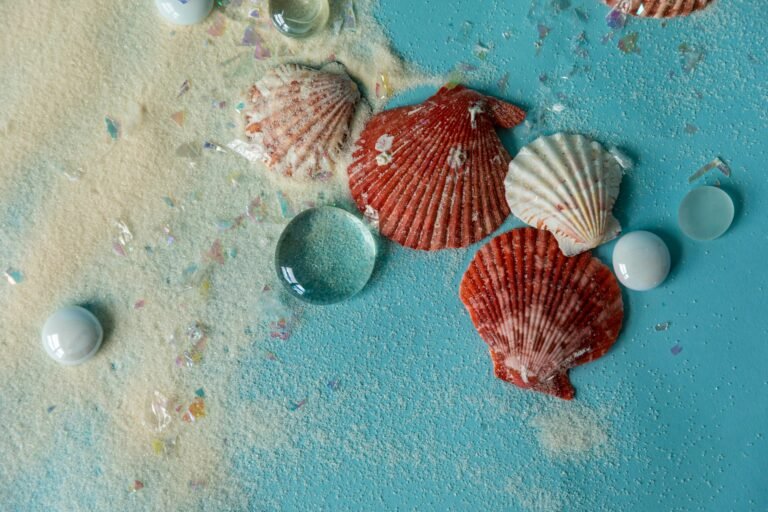
Sea jewellery celebrates treasures shaped by the coast: sea glass tumbled by waves, shells worn smooth by tide and time, tiny pebbles, driftwood, and even grains of sand set in resin. Each find is naturally one-of-a-kind. That’s the magic—your necklace can’t be duplicated, and your earrings can be intentionally “sisters, not twins.”
Common components:
Sea glass shards in greens, whites, ambers and rare blues
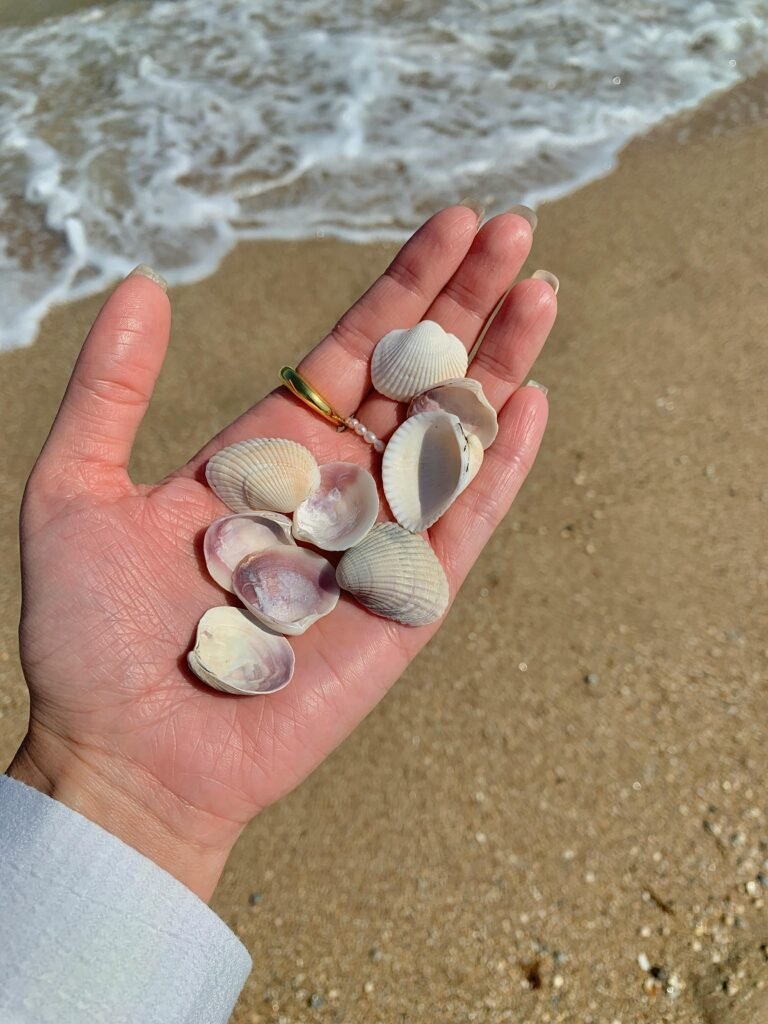
Small shells (think cockle, limpet, scallop chips), mother-of-pearl pieces
Smooth beach pebbles
Tiny driftwood slices or chips
Sand and micro-shell fragments for resin charms
Ethical Beachcombing (UK-friendly)
We’re all for treasure hunts—kind to the coast, kind to wildlife.
Check local rules. Many UK beaches allow casual collecting of loose, dead shells and beach glass; avoid protected sites and habitats.
Tide timing. Low tide reveals more. Scan strandlines, rock pools and the lee of groynes or jetties.
Take only dead shells. Live shells and creatures stay put.
Leave no trace. A small bag for finds, a second for litter you pick up.
Rinse responsibly. Clean your finds at home; avoid harsh chemicals on the beach.
Clean and Prep Your Finds
A tidy surface makes for tidy jewellery.
Soak shells and glass in warm water with a drop of mild washing-up liquid for 20–30 minutes.
Scrub gently with a soft toothbrush.
For stubborn barnacles on shells, try a paste of baking soda and water; rinse well.
To retain the frosted look of sea glass, don’t polish with oils; if you want a “wet” look for photography, a temporary smear of water works but can attract dust.
Dry your finds completely before drilling or gluing.

Your Starter Toolkit (Budget-first)
You don’t need a full bench to begin. Here’s a practical list with budget notes.
Essentials (budget friendly):
Wire: 20–24 gauge copper, silver-plated copper, or stainless (start with 22–24 gauge for wrapping).
Flat-nose pliers, round-nose pliers, wire cutters (beginner sets are affordable).
Jump rings (5–8 mm), earring hooks, and a selection of chains or waxed cotton cords.
Strong adhesive for non-drilled settings (clear epoxy or jewellery-safe industrial adhesives).
Small files or sanding sticks for smoothing rough spots.
Alcohol wipes or isopropyl alcohol for degreasing before gluing.
Optional / intermediate:
Mini rotary drill (e.g., Dremel-type) with diamond burrs (1–2 mm).
A small water pot or running water setup for “wet drilling” (reduces dust and heat).
Safety kit: dust mask rated for fine particulates, safety glasses, finger guards.
Two-part epoxy resin, silicone moulds (small bezels or pendant moulds), stirring sticks and cups, butane torch or heat gun for bubbles.
Budget pointers:
Start with silver-plated copper wire; upgrade to sterling as your skills and sales grow.
Buy findings in multipacks. They’re pennies per piece and you’ll use them quickly.
Starter rotary tools are inexpensive and perfectly fine for shell and glass drilling.
Project 1: Wire-Wrapped Sea Glass Pendant (Beginner)
This is the gateway project—no drilling, no resin, just a pretty shard and a neat wrap.
You’ll need: a sea glass piece about 2–4 cm, 22–24 gauge wire, round-nose and flat-nose pliers, wire cutters, one jump ring, and a chain or cord.
Steps:
Measure and cut 30–40 cm of wire (longer for practice wraps).
Create a small centred loop with round-nose pliers—this is your bail.
Hold the sea glass and start spiralling the wire around the shard. Let the glass guide the path—hug curves, cross at natural pinch points.
Tuck the wire tail behind a wrap and squeeze gently with flat-nose pliers to secure.
Slip a jump ring through the top loop (bail), then onto a chain or cotton cord.
Tips:
If your wrap slides, add a discreet “saddle” wrap over the edge to lock it.
For a decorative touch, twist two wires together before wrapping.
Keep the frosted surface clean—avoid fingerprints by wiping with alcohol before the final fit.
Project 2: Drilled Shell or Sea Glass Earrings (Beginner to Intermediate)
Drilling opens up elegant, lightweight designs. Respect safety and go slow.
Safety first:
Always wear eye protection and a fine-particulate mask.
Drill under water or with a steady trickle over the drilling point; it keeps dust down and prevents heat cracks.
Support the piece on a scrap wood block or rubber mat in a shallow water tray.
You’ll need: mini rotary drill, 1 mm and 1.5–2 mm diamond burrs, two matched shells or similar glass bits, jump rings, earring hooks, pliers.
Steps:
Mark the drill spot with a wax pencil—slightly in from the edge to avoid chipping.
Start with the smallest burr at low speed, let the bit “kiss” the surface and nibble a starter divot.
Increase speed gently, keep the piece submerged, and let the diamond do the work—don’t push.
Once through, step up to a 1.5–2 mm burr to widen the hole if needed.
Rinse and dry, smooth the edges with a tiny file.
Attach jump rings and earring hooks. Make a tidy “P-loop” closure on the ring to face forwards.
Design ideas:
Mismatched sisters: same palette, different shapes.
Double-drop: tiny sea glass chip atop a shell.
Hammered spacer discs add shimmer between natural elements.
Common issues and fixes:
Chipping at exit: drill halfway from one side, flip, and finish from the other.
Hairline cracks: move inwards from the shell edge; slow down and use a smaller bit.
Project 4: Beach-Cord Anklet or Bracelet (Beginner)
Soft cords carry that relaxed “beach walk” vibe and are quick to make.
You’ll need: waxed cotton or nylon cord, a focal (wrapped glass chip, drilled shell, or bead), two crimp ends or an adjustable sliding-knot finish, jump rings, lobster clasp (if using crimps).
Option A: Adjustable sliding knots
Thread the focal onto cord cut to your wrist/ankle length plus 20–25 cm.
Overlap the ends and tie two opposing sliding knots.
Add a couple of tiny accent beads near the focal if you like.
Option B: Metal ends
Fit cord ends into crimp caps; squeeze firmly.
Add jump rings and a lobster clasp.
Finish with a short chain extender for flexibility.
Style notes:
Mix cord colours inspired by the coast—sea-foam green, dune beige, driftwood grey.
Add a drop charm near the clasp for a subtle jingle.

Finishing Techniques That Elevate Your Work
Jump ring orientation: close rings with a front-to-back twist, not a pull, so the ends meet flush.
Bails and connectors: premade bails give a professional finish to odd-shaped glass.
Patina and polish: a gentle rub with a jewellery polishing cloth brightens metal; avoid oils on sea glass if you love the frosted look.
Edge smoothing: silicon-carbide nail buffers (fine grit) tame sharp shell edges.
Chains vs cords: chains feel dressy; cords feel beachy. Offer both so buyers can choose.
Care and Storage for Sea Jewellery
Include a simple care card with each sale (customers love them).
Avoid lotions, perfumes and hairspray directly on the piece.
Wipe metal with a soft cloth after wear.
For resin, store out of strong sunlight to minimise yellowing.
Don’t ultrasonic-clean shells or resin.
Design Inspiration and Palette Ideas
Classic beach glass: milky white, olive and aqua with a single silver accent.
“Stormy day” mix: slate grey pebble, muted green glass and oxidised copper wire.
Minimalist shell: one small off-white shell on a fine gold chain.
Mismatched earrings: two different shells in the same hue family for an effortless, organic pair.
Layering: short sea glass pendant with a longer driftwood charm necklace.
Pricing, Photography and Selling Tips
Photography:
Natural light from a window is flattering; diffuse with baking parchment if it’s harsh.
Style on sand-coloured linen or driftwood for a coastal story.
Include a macro shot to show the frosted sea glass texture.
Pricing:
Track material costs and time. For beginners, a simple formula is: (materials x 2) + hourly rate + marketplace fees.
As quality improves, factor in design value and uniqueness.
Selling:
When you’re ready to share your work with the world, list on Artisell. Our platform is tailor-made for makers and small creative businesses, with a friendly UK audience that appreciates handmade.
Open your free seller account
Troubleshooting Quick Fixes
Wire slipping off glass: add a secondary “cinch” wrap across a corner, or switch to slightly softer wire (it grips better).
Drill cracks in glass: always start with a tiny bit, drill under water, slow speed, minimal pressure.
Resin microbubbles: warm resin bottles, mix slowly, and pass a quick heat sweep over the surface.
Glue not holding: degrease both surfaces with alcohol and use fresh two-part epoxy; allow a full cure.
Metal tarnish: include a polishing cloth with orders and mention storage in an airtight pouch.
Safety Recap
PPE: safety glasses, dust mask for drilling, nitrile gloves for resin and adhesives.
Wet drilling only, on a supported surface.
Ventilation for resin; measure accurately; keep away from food prep areas; store chemicals out of children’s reach.
Stay Connected With Artisell
Beginner-to-Intermediate FAQ
What’s the difference between sea glass and beach glass?
They’re often used interchangeably. Sea glass is shaped by salt water; “beach glass” can include freshwater finds. Both work beautifully in jewellery if edges are smooth and the surface is frosted.
Can I drill every shell or glass piece?
No. Fragile, thin shells chip easily, and some glass is too brittle. Choose thicker pieces and drill under water with diamond burrs.
Will resin yellow?
Most quality epoxies resist yellowing, but UV exposure speeds it up. Store finished pieces out of direct sun and choose resin formulated for jewellery.
Which wire gauge should I buy first?
Start with 22–24 gauge for wraps and 20–22 for sturdy bails. Softer, silver-plated copper is forgiving for beginners; upgrade to sterling as you grow.
What glue is best if I’m not drilling?
Two-part epoxy gives a reliable bond for glass-to-metal. Roughen metal lightly, degrease both surfaces, and allow a full cure.
How do I keep the frosted look of sea glass?
Avoid oils and polishes. If you ever want a gloss finish, coat with clear resin instead—but many makers prefer the natural frost.
Can I sell jewellery made with found items?
Yes—just follow local rules for collecting and don’t take live shells. Buyers love the story behind responsibly gathered materials.
Shopping List Cheat-Sheet
Beginner bundle:
22–24 gauge silver-plated copper wire
Basic plier set and wire cutters
Mixed jump rings (5–8 mm), earring hooks, chains/cords
Two-part clear epoxy
Mini files/sanding sticks
Alcohol wipes
Intermediate add-ons:
Rotary tool + diamond burr set (1–2 mm)
Safety glasses and mask
Two-part epoxy resin + small moulds/bezels
Heat gun or little torch
Pigment tints (transparent teal/blue)
